
The Quest for the Anti-Me - Finding Myself in Latent Space
(A video of the StyleGAN encoder in action. In this case, within 11,000 iterations, StyleGAN has pretty much nailed my face.)
StyleGANs and Anti-Faces
Ever since I first came across StyleGans, Nvidia’s hot new image generator tech, I’ve been overcome with the desire to play around with it.
It’s responsible for some pretty impressive results. To see a few yourself, go to https://thispersondoesnotexist.com and refresh your browser a few times.
Pretty cool, right?
Well, if you actually go and read the Research Paper, it turns out it is full of fascinating little tidbits, that get the mind going. In particular, I was fascinated by this figure:

I became deeply curious to try it myself. And, I found myself wondering…
Could I generate… an anti-me? A version of myself, with all attributes flipped? And what would she look like?
Finding Myself In Latent Space.
Before I could do such a thing, I needed to “find myself”. That is to say, I needed to find the set of inputs that, when fed into the StyleGAN model, would generate my original face. These inputs are called “latents”, and a particular set of them together is called a “latent vector”. Once you’ve found the particular latent vector that generates your face, you can begin playing around. More on that in the next post. First, we need to “encode” a picture, to find its latent vector.
This is done by feeding in a target picture for StyleGAN to try and match, then doing gradient descent in latent space, using Frechet Inception Distance for the loss.
If you don’t know what those are, well, basically you start by feeding picking some arbitrary starting latent vector, and doing the following repeatedly:
1. Nudge the latent vector just a bit in some direction.
(Maybe add some random small number to each latent.)

2. Feed the new latent vector into the StyleGAN,
  and use that to generate a new picture.

3. Check if that new picture looks more similar
  to the target picture
  (this is what Frechet Inception Distance is for. It measures similarity)

4. If the new one looks more similar, that was a good nudge, and we're going the right direction.
     (Next time, nudge it more like that!)
   If not, pick a different direction.
Do that until the new image looks really similar to the target image, and voila!
If you’d like a much better explanation of gradient descent, you could try this Towards Data Science article
And so, I gave it a try.
Result? Success!
| Real Image | Generated Image |
|---|---|
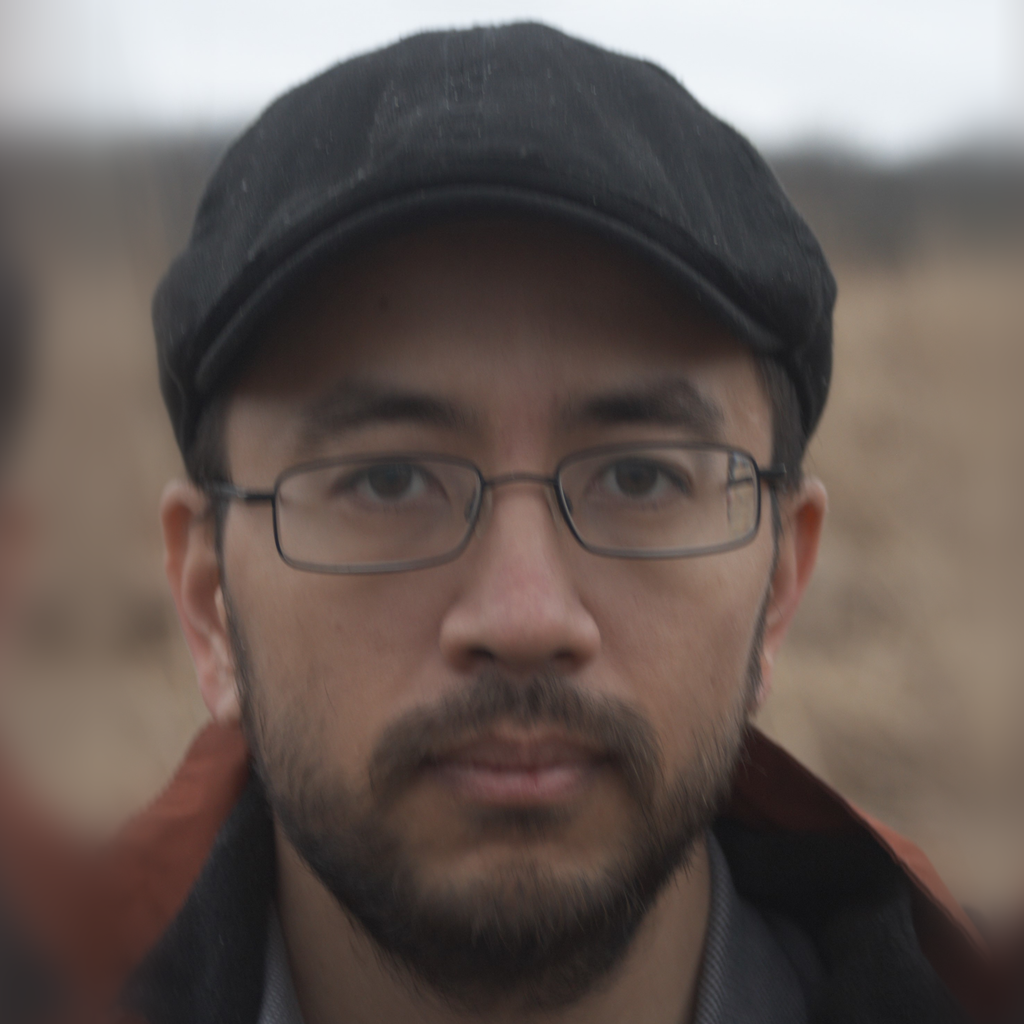 |
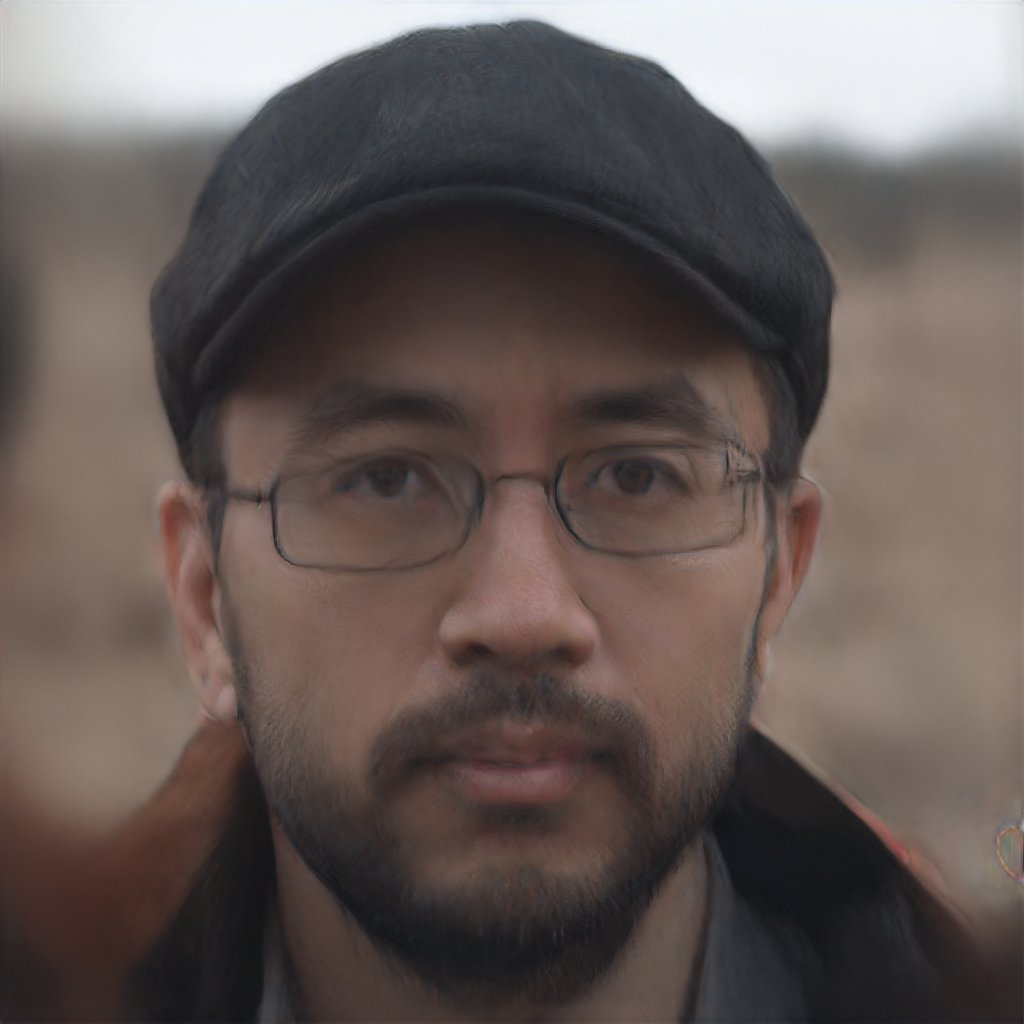 |
 |
 |
Give it a Try Yourself!
If you’d like to give it a whirl, all the code, including instructions on how to use it, can be found at this Colab Notebook.
If you don’t know how to use a Colab Notebook, go to Google’s tutorial. Essentially, a Colab Notebook is a visual way of running code right in your browser. The really interesting thing is, Google does all the hard computing work with GPUs behind the scenes, gratis. Yes, it’s free GPU access. Yes, that does sound fishy and too good to be true.
Don’t worry, the first taste is free. Google will make their money, somehow…
(I adapted that Colab notebook from the Colab Notebook “Latent Me”, which somebody made based on the stylegan-encoder repo on Github by “Puzer”, which itself extends the original code from Nvidia.)
Things I Learned, While Finding Myself
1. It has trouble with my glasses.
Several times, I fed it photos with my glasses on, and it struggled to recreate them. Sometimes catastrophically.
When I fed it this old photo of me…

It really struggled with the glasses. After 1000 iterations, it formed a weird sunken-eyed version, with strange depressions where the rims should be:

After 5000 iterations, it was still trying to figure out the eyebrow/rim region:

And even after 20,000 iterations (which took hours to run), this was the best it could do:

2. You really should give it well-lit photos. For your sanity.
This photo was taken at night, halfway through a haircut.

This was the output. It looks like a melted corpse.

…and here’s a poorly lit photo of me, also wearing glasses.

Which gave me this:

It certainly leaves an impressionist sort of impression, but I’m not sure it quite qualifies as art.
3. It really seems to like PNG files better than jpgs. Also, make sure you check the “alignment”.
Part of the process of finding myself involved running the “align” code, which finds and crops out a square portion of the picture you give it. It then tries to generate pictures to match that square, cropped image. Unfortunately, that alignment process can… glitch out.
I started with a .jpg version of this picture.
 (I like this one, because I’m wearing my black-and-red Redhat hat.)
Unfortunately, somehow in the alignment, process, something went wrong. The encoder generated a sort of weird, ghostly image. But I didn’t download the aligned version to check. I just told it to start trying to match. So it ran for hours, and hours, and after 30,000 iterations I got this:

Which is kind of interesting, really. Does this mean it can match literally anything you give it, not just faces?
And that’s all for now.
Tune in next time, as we go way too deep into age, gender, and smileyness… and then keep going!
Preview: